Tuesday, June 26, 2012

Art for Birthday Cards

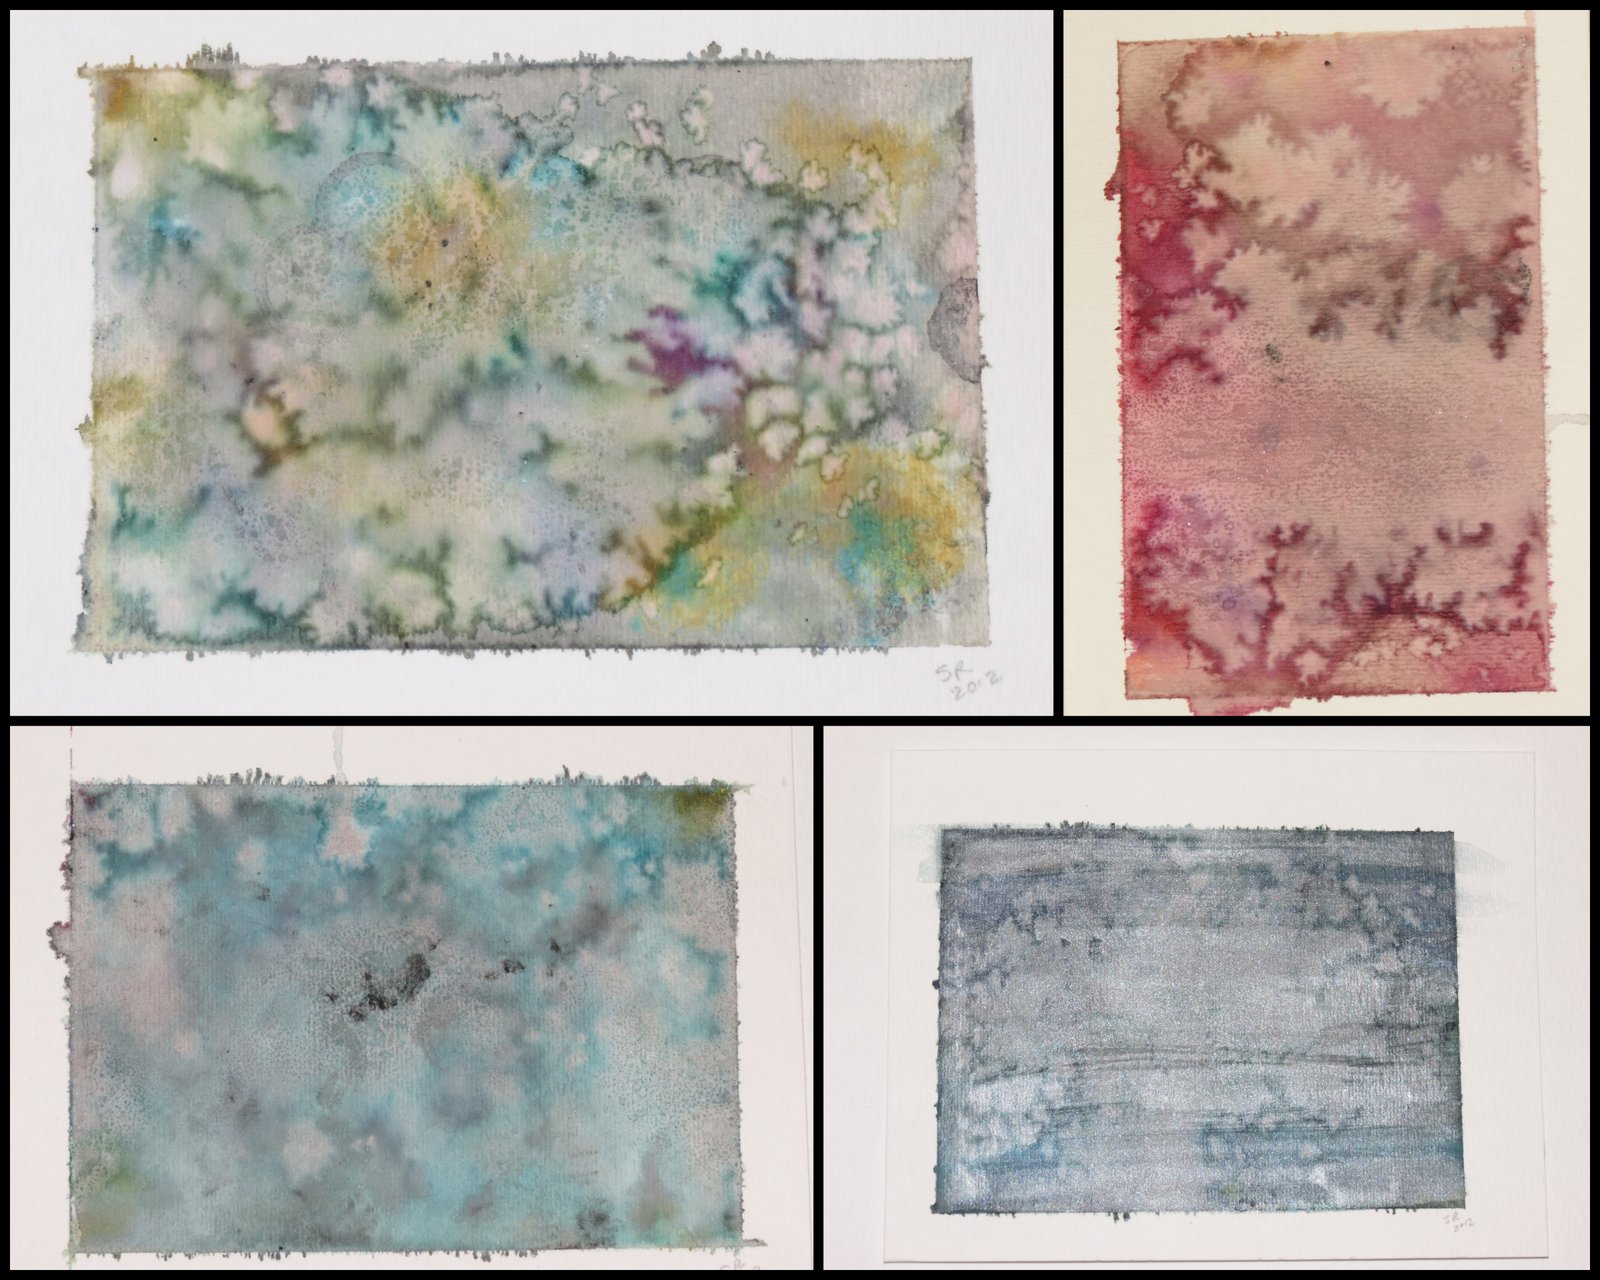
We have a lot of family birthdays in May so I had the kids make some small (4 to a sheet) watercolors that we could use as cards.  I love seeing how each interpreted the project. 

Ian age 9.  The dragon/firebird use some wax resist.
 

Spencer age 3.  We added some salt to get this effect.

Elizabeth age 11. She did a larger version of the chameleon on canvas for a 4-H project.
William age 6.  His version of a rocket on the left and a cherry tree.
Posted by Picasa

Wednesday, June 20, 2012

Adirondack Alcohol Ink Tiles

I made this tiles after seeing a post via Pinterest.  The inks weren't too expensive but I did use my coupon (Hobby Lobby) a couple of times to get more colors. You will need the blending solution too.  I used a used a toothbrush to spread the alcohol mix around before adding the ink. You can get a whole bunch more color options via this website: Ranger Ink and Innovative Craft Products

I followed this tutorial at Artsyville.  Really the comments section carries a bunch of information as well.  So though lenghty, it's worth the read.


The red and yellow one on the right, I added more alcohol blending solution to mix the colors even more.

What do I plan to do with these?  I am just going to use them as coasters.  I hot glued white felt on the back and that seemed to work just fine.

This process is fairly quick but do it in a well-ventilated area.  The blending solution is fairly strong!
The only problem is the finishing.  As you read through the tutorials you will see in the comments that finishing them so they are permenant and usable is under debate.  If any of you try this and find some good solution(s), please let me know!!


There are metallic colors available too!
 
Posted by Picasa

Saturday, March 31, 2012

Project: Simplify 2012! The Counter of Stuff.

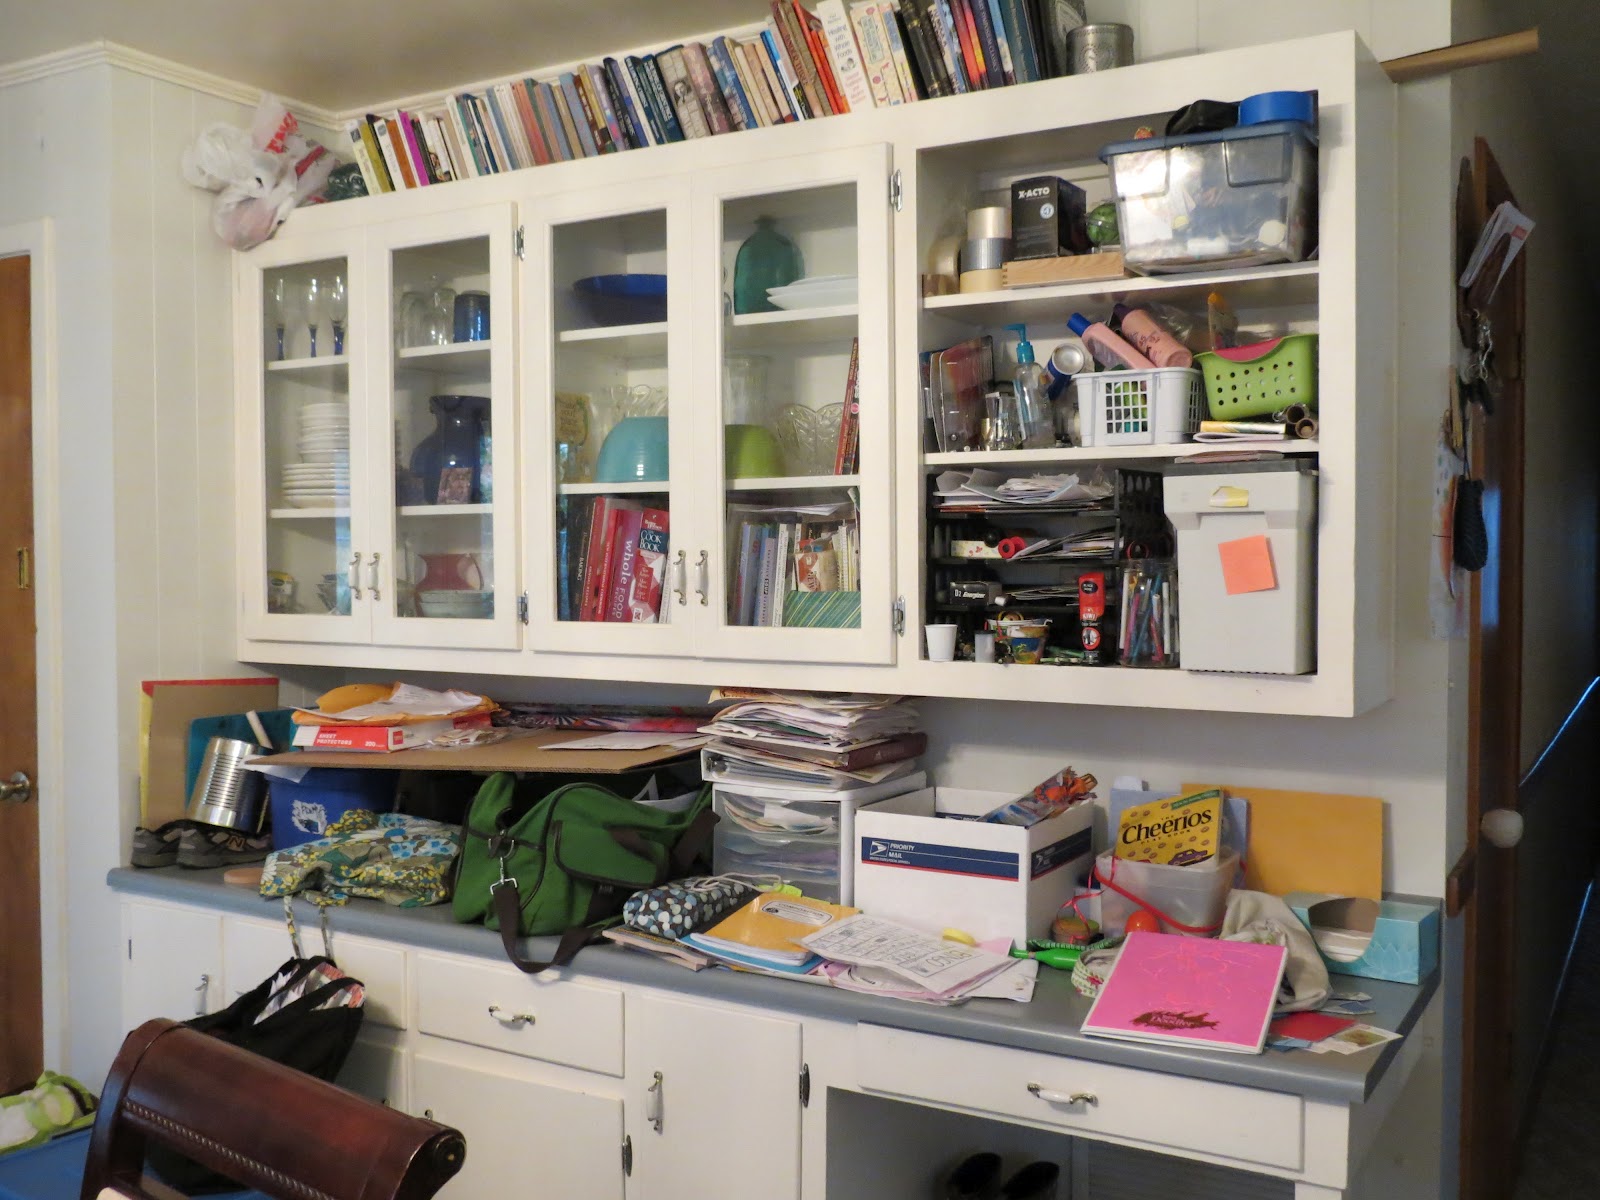
Well.  It has taken me 2 weeks to get this together and there is still more sorting and purging to do.  I wish my counter could stay like this forever.  Alas, we live here and it will be a mess again, though maybe not so bad.

Are you ready?  Deep breath.

BEFORE:
Kitchen counter that is the catch all of everything coming in the house.

Our calendaring area.  Yeah, not so much.
Okay, now that I have shared one of the messiest places in our house you, I hope we can still be friends. Actually, what I wanted to do this week is my sewing room.  Alas it was spring break and the kiddos wanted my attention, though I did get a start on that explosion of a space. One day it may be done enough to share.

Now onto why you are here and why I did this in the first place, other than sanity.  I need to share and feel like I accomplished something!

AFTER:
I know right!? There is a huge counter here!

Oh, and look a desk and a bulletin board. and an Easter basket!
Yes there is still a junk box on the top shelf. All those little bits and pieces that I just might need at some point.  But the drawers that were holding the kids school  paper is now holding the batteries, tape and small tools that we use frequently. The green basket holds markers and other art supplies.
Now the details:  I am still left with this huge pile to sort!!!! Argh.  I am working through it today and tomorrow.  So far and have a smallish garbage bag and a 1/2 full banker box to recycle.  So many miscellaneous bits and pieces that have no particular home.  Sigh.

THE PILE of STUFF remaining!

But wait there is more I want to share.
I took all the kids files of school stuff and bought clear hanging file boxes. My goal is to have one box for each child for their whole 12/13 years of school.  A file for each year of school and then a Pre-K file for everything before Kindergarten.

This is my 11 yo daughter's box.  I am going to need to go through all of their papers again.  In my dream world I would have a large flatbed scanner to scan everything in and save a lot of it that way.

The blue bin is all of my Box Tops for Education papers.  It will be gone and handed off in May! The clear tote is all the current school year papers and the orange sliver on the left is the new birthday card file folder.  I have cards for each month and I am hoping this helps me get them sent on time!

Four kids school boxes filled and labeled! And now moved to the basement.

For some reason a few years back I stopped throwing used batteries in the trash.  Well they are overflowing their shoe box waiting for recycling at the battery store.  They are now in a bag in the car to drop off on Monday!

The writing drawer.  Semi organized chaos.

Much better.
This feels great to have all of this cleaned up.  Now to keep it this way for more than the weekend.  I have other areas that have to be cleaned and purged before some items can be put away.  I need the mantra: "A place for everything and everything in its place" posted somewhere prominently in the house!!

Thank you Tsh for hosting again and getting us all excited about simplifying our lives.

Saturday, March 17, 2012

Project: Simplify Week 2: Kitchen and Pantry

This week was the week of the pantry and fridge. We had an unexpected trip across the country last week and I missed out on tackling the kids stuff with purpose.  It might get done over spring break!
I came to the very sad realization that I haven't really scrubbed the fridge in a very LONG time.  Yikes.
Here we have the fridge and freezer. Not bad at first glance, but it was WAY overdue for a scrub. On top of the fridge are two sets of drawers that hold our serving spoons, hot pads, small knives, measuring utensils etc.  They too got a scrub and a re-organizing.
It may not look like it changed much but there is actually room to put things in now!  The freezer has so much space  and everything is back in its place.  
Outside.  I picked up this vinyl chalkboard decal at Target on clearance on  Wednesday night!  Sweet.  It will be interesting to see how it holds up.
Pantry.  I love the pantry in this house.  Last year I put in shelf liners that have held up well. I did a little tossing here but mostly just repackaging and reorganizing. I did move some items to the basement food storage.
Top where we keep snacks, bread, cereal and all the dry beans.
After.  Much nicer and consolidated.
Bottom of the pantry Before.
Bottom after.  Again so much more room!  Still not perfect but it's great. I can find everything again!
Posted by Picasa

Monday, February 20, 2012

Project: Simplify 2012!

So it's that time again for a little spring cleaning!  Tsh is hosting the Project: Simplify again at Simple Mom.  I was noticing that I blogged quite a bit about this last spring and promptly stopped blogging.  hmm.  Guess I simplified that part of my life!
We'll be using the 10 steps to simplify our lives that she outlines in her book Organized Simplicity.  I have this book and it is great.  Straightforward and easy to read, though the steps require a lot of introspection as to the why of the stuff we have.  So, it can be a bit of a challenge to do the steps, especially when there are other peoples stuff involved! (husband and children!)

Hope you will participate and link up each week!

Wednesday, February 15, 2012

Granny Square Quilt-a-long

I have long been a part of this Old Red Barn Co. flickr group.  But I have only done one or two of the projects as quilting has taken a back seat in life with 4 kids.

Blogging also had to slow down, though maybe that is the fault of my iPhone!  Anyway, Dana and the group is starting this great quilt-along on March 1st.  I'm sure I can fit this in with the other 3 quilts already in progress! More on those later.
Click on the photo to go to the original instructions

Sunday, January 22, 2012

Mixed up Blocks

Found this great site icanteachmychild.com and this fun quick project. I had it in mind for the 3 year old but our 5 almost 6 year old thought it was a little  more interesting.  I made mine with pictures on both side to make it a little harder to solve.  If I did make them again I will try to glue/modge podge the pictures to the blocks for durability. Over all a fun use of building blocks.


I think the block size is about 1.5" x 2" so the pictures need to be sized just smaller than that to fit.  We just used Microsoft clip art and typed in the animal categories we wanted for this set.  This would be a fun baby shower gift...we maybe a toddler who no longer puts things in their mouths gift!


This is one of those projects that I found, pinned and made in less than 30 minutes. I should make a board for that!